Have you ever dreamed of having your homebrewed beer on tap?
Well, I had the same dream! Kegging has multiple advantages and is just a convenient way to package your homebrew.
I brew a lot more since I keg because I don’t have to worry about the time I will need to bottle a batch. Of course, you can still bottle some batches and you can even bottle from a keg if needed, but you’ll never turn back after you switched to kegging.
The first question you need to ask yourself is; Where do you want to have your tap? Maybe you don’t want to go down to the basement for every glass of beer. You have the space for another fridge in your kitchen!? Great!
I don’t have the additional space upstairs, nor do I want a second fridge in that area. For me, tap in the kitchen and fridge in the basement is the perfect solution. Now we have just to figure out how to get the beer from A to B.
There are many tutorials on the net that will teach you the basics of kegging. Here, I wont go over the basics, I just explain how you can build a long draw dispensing system.
The fridge will be in the basement and the beer lines run 10’ outside the fridge up to the kitchen (8’ higher). We need to permanently cool the beer lines and the tower to avoid foaming during serving and to ensure that the beer is ice cold. Don’t get scared now! There is an inexpensive and rather easy way to get that done.
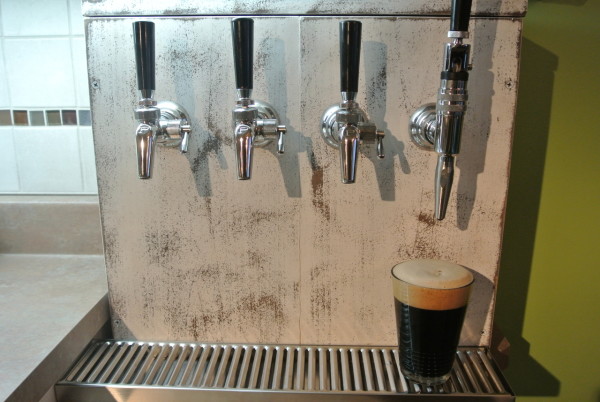
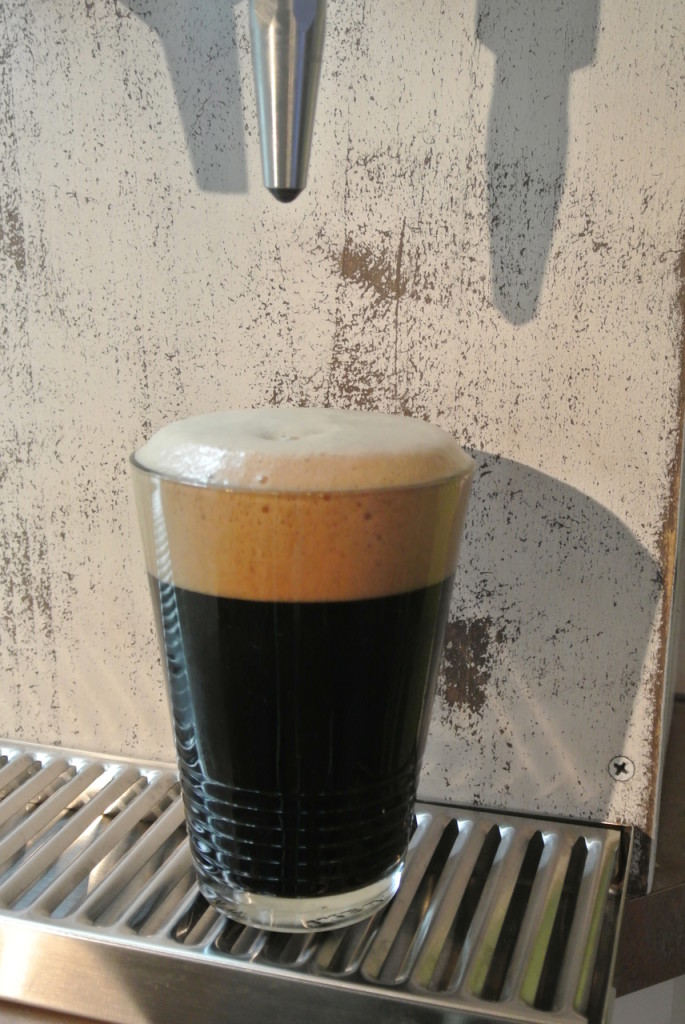
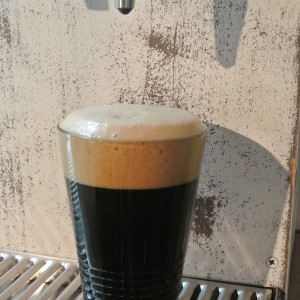
The tower will have 4 faucets, one of it will be a Nitro/Stout faucet. We are building everything from scratch, including the tower and the trunk line.
The cooling loop
I have a small container, filled with a glycol/distilled water mixture (about 1 gallon), in the freezer compartment of the fridge.
A small pump is circulating the cooling fluid to chill the beer lines and the tower (shanks, faucets). The fluid stays at 35F (2° C) in my case. We could just use distilled water as it wont freeze at 35F.
![3NOujx1[1]](https://skrilnetz.net/wp-content/uploads/2016/05/3NOujx11-402x600.jpg)
![I2gRtEK[1]](https://skrilnetz.net/wp-content/uploads/2016/05/I2gRtEK1-600x402.jpg)
I use an aquarium pump to circulate the glycol/water mixture.
Quiet One Pro Series Aquarium Pump – 800 (15 watt)
![qZvyaXP[1]](https://skrilnetz.net/wp-content/uploads/2016/05/qZvyaXP1.jpg)
This pump works great so far, but you may have to fill the cooling line with water before connecting the pump (you can use CO2 to push the water). All depends on the maximum head lift of your pump. Once the line is filled, the pump has no issue in circulating the fluid in this 20’ loop. I would not use a stronger pump in this application. I’ve tried a 60-watt pump at first but it warmed up my coolant and made too much noise (vibration).
I’ve used ½ PEX for the glycol loop.
![ohvOOGo[1]](https://skrilnetz.net/wp-content/uploads/2016/05/ohvOOGo1.jpg)
If you use glycol, make sure to use a non-toxic, non-flammable product. Not that it will ever be in contact with our beer, just to play save.
That’s the product I have used:
![h7gwJBi[1]](https://skrilnetz.net/wp-content/uploads/2016/05/h7gwJBi1-300x300.png)
The trunk line
I went with ¼ beer lines because there would be too much resistance in a 3/16 line for this distance. I don’t worry about my line length because I use flow control faucets. Its really worth it to spend a few more bucks to get good flow control faucets. I can serve a low carbonated beer and a high carbonated beer on the same line.
As my system will only be used on weekends, I was worried about possible off flavors from the lines (look here).
That’s why I chose Bev-Seal lines. Yes, harder to work with (not so flexible), but no off flavor/taste at all and the line is flushable. You can serve a milk stout, flush with water and serve an APA without flavor concerns.
![0GYmTGm[1]](https://skrilnetz.net/wp-content/uploads/2016/05/0GYmTGm1.jpg)
The beer lines are placed around the cooling line (PEX). Tie wraps to keep the lines together. A layer of Food Plastic Wrap to keep condensation inside and a layer of aluminium foil as heat barrier.
I’ve used 2” ID, 3” OD pipe insulation and then applied tape around it. That’s how it looks.
![3eaNrgv[1]](https://skrilnetz.net/wp-content/uploads/2016/05/3eaNrgv1-401x600.jpg)
![Kqgj7nI[1]](https://skrilnetz.net/wp-content/uploads/2016/05/Kqgj7nI1-600x402.jpg)
That’s a commercial example from Micromatic:
![9HR0IVY[1]](https://skrilnetz.net/wp-content/uploads/2016/05/9HR0IVY1-600x324.jpg)
I’ve wrapped the trunk line with insulation wool to keep it as efficient as it can get.
![t0Uah8l[1]](https://skrilnetz.net/wp-content/uploads/2016/05/t0Uah8l1-402x600.jpg)
The fridge
I use a standard fridge with freezer compartment. I can fit 5 kegs and have some room for bottles and yeast.
Its very easy to drill holes in the sides of a fridge. Just be careful and verify if there are any cooling lines or other stuff in the side of your fridge before drilling a hole.
![0DC24MF[1]](https://skrilnetz.net/wp-content/uploads/2016/05/0DC24MF1-402x600.jpg)
The tower
The tower is made of wood and very low cost in comparison to a commercial glycol cooled tower. It works as good as a commercial tower and you can spend those 1000 bucks elsewhere.
I’ve connected the cooling line (PEX) to a ½ copper line in the tower as copper is a much better conductor than plastic. I’ve also used some ¼ copper to get a better heat transfer from the cold glycol line to the shanks.
![O8h8Nb7[1]](https://skrilnetz.net/wp-content/uploads/2016/05/O8h8Nb71-600x402.jpg)
![mP3em8G[1]](https://skrilnetz.net/wp-content/uploads/2016/05/mP3em8G1-401x600.jpg)
Insulation is also key here. We want to keep the beer lines, shanks and faucets as cold as possible, even (or especially) on a hot summer day.
![bjv8wnT[1]](https://skrilnetz.net/wp-content/uploads/2016/05/bjv8wnT1-600x402.jpg)
![Rm8PwGW[1]](https://skrilnetz.net/wp-content/uploads/2016/05/Rm8PwGW1-600x402.jpg)
![IQexBlr[1]](https://skrilnetz.net/wp-content/uploads/2016/05/IQexBlr1-600x402.jpg)
The system is up and running for months and all is working like a charm. I still bottle some beer styles, but I would never go back to bottle all batches.